Thursday, August 8, 2013

Day 56 & 57, Painting Issue plus more new installations

It's official... we are keeping the green Hallway. Sandy likes it "sort of". I love it a lot. We finally decided to to re-paint the ceiling 100% Antique White semi-gross to reduce the intensity of an all green color scheme.


The overall color palette brings into living spaces tones of grain, leaf, grout, blue and warm white. These colors balance with a mid-tone cherry wood cabinets and natural red oak floors.


Right, Clint makes last minute color checks to insure the highest quality workmanship, including conferring with our GC.



Darrell finally can afford these new boots after cashing the biggest progressive payment I ever wrote. I almost couldn't fit description amount on the check...

NICE Wheels, Mr. D-Built


Here are our painters in motion: reaching, stoking, masking, etc.

This is the final stage of wall preparation. After this Darrell and Stacy will be setting doors and interior window as well as trimming bases doors and windows.
Mikey can now set all of our ceiling can lighting.

How illuminating...


Above, you see how "Tinkerbell Trial meets the "Pick of the Meadow". The wall in the entry next to the door will be plastered two tone blue with splashes of gold color.

Left is the mud room wall using the new porch color. We are also thinking about emphasizing the beams from the roof boards with two tone of "Antique White".


One of our favorite signs greeting friends and family into our breeze way was given by Clint, the painter.


Here are some of Sandy's record shots featuring key items that tell their stories of the over looked tools and fixtures that blend together to create the remodeling experience.


Below is our newly wall mount toilet we changed out for the better floor mounted Toto low flow toilet.


Where would a builder be without his tool belt?


Here, I get my new window installed. No more hot or cold windows. I should have much more comfortable temperature shifts in my office.


Below, see the finished window with the newly arrived Panasonis VT60, 65" plasma going into the Family Room.


Stacy waits while Pottie Wagon empties the weeks collection.


Our painter are about done for this phase of the project. They will return for various trim and touch-up painting tasks till be are done with construction.


NEXT we start preparing for the cabinets and then the new wood floors. Right, is the installer measure for final wood quantities.


Tuesday, August 6, 2013

Day 54 & 55, Picking and Painting the final COLORS

Day 54, was 'Pick the paint the colors' day. The painters were gone and Sandy, my co-PM (left), Kerry Klien (center), our colorist and Michelle (right), D-Built's first lady, kick-off the picking party. Actually, Michelle just dropping by to pick up a scheduled payment (bye-bye cash!).


Kerry, Sandy and I spent five hours (11am to 4pm) discussing, documenting and finally agreeing on the paint colors to apply to our new walls and ceiling.


We changed our standard main white to 'Antique White, semi-gloss', for all base, molding, etc. inside the house will be painted this color. All ceilings will use that white tinted with 25% of the adjacent wall color.


We decided to use a Venice Plaster motif in two blue tones on one wall in the Entry.


The Kitchen and Living Room are to be painted in 'Tinkerbell Trail'. The Family Room and the Utility painted in 'Aged Parchment'. The back porch wall will be painted in 'Meadow Brooks' and the mudroom in 'Antique White" including the ceilings.

Now, we come to the Hallway, which we choose 'Pick of the Meadow'. This was not Sandy's first choice. Kerry presented a good case for this pick. I agreed it would work with the multiple colors found in the various hallway finishes.

So the paint selections were e-mailed to the painter to be applied the next day.


As witnessed, you can always get the pick of the litters. It may because the fumes from the various coating painters are asked to apply. Anyway, they do beat to a differ drum. Did I mention this one on the right is a Sargent in the Marines.


Below, Clint checks off the various paints and make sure he has the right colors for each room. There are a lot of separate design choices to keep in mind when getting the right color on the right wall.


 Ever what they think about when they are painting?


 Now we come to the green hallway, as of this writing Sandy doesn't like the color. She says it looks like "pea" green, don't let the Andersen Soup folks here you say that. This situation started when the painter called me, asking if we could change the tinted white ceiling to 100% wall color., I said OK. Ops, that started the green objection. As of this writing I e-mailed Kerry asking her to weight-in with re-instating the original ceiling standard or tinting the Antique White with 10% of the wall color. 

Stay tuned to see the fate of the our Hallway color in the NEXT Blog. 
I may get a new window in my office tomorrow.


Sunday, August 4, 2013

Day 52 & 53, The Undercoating Process

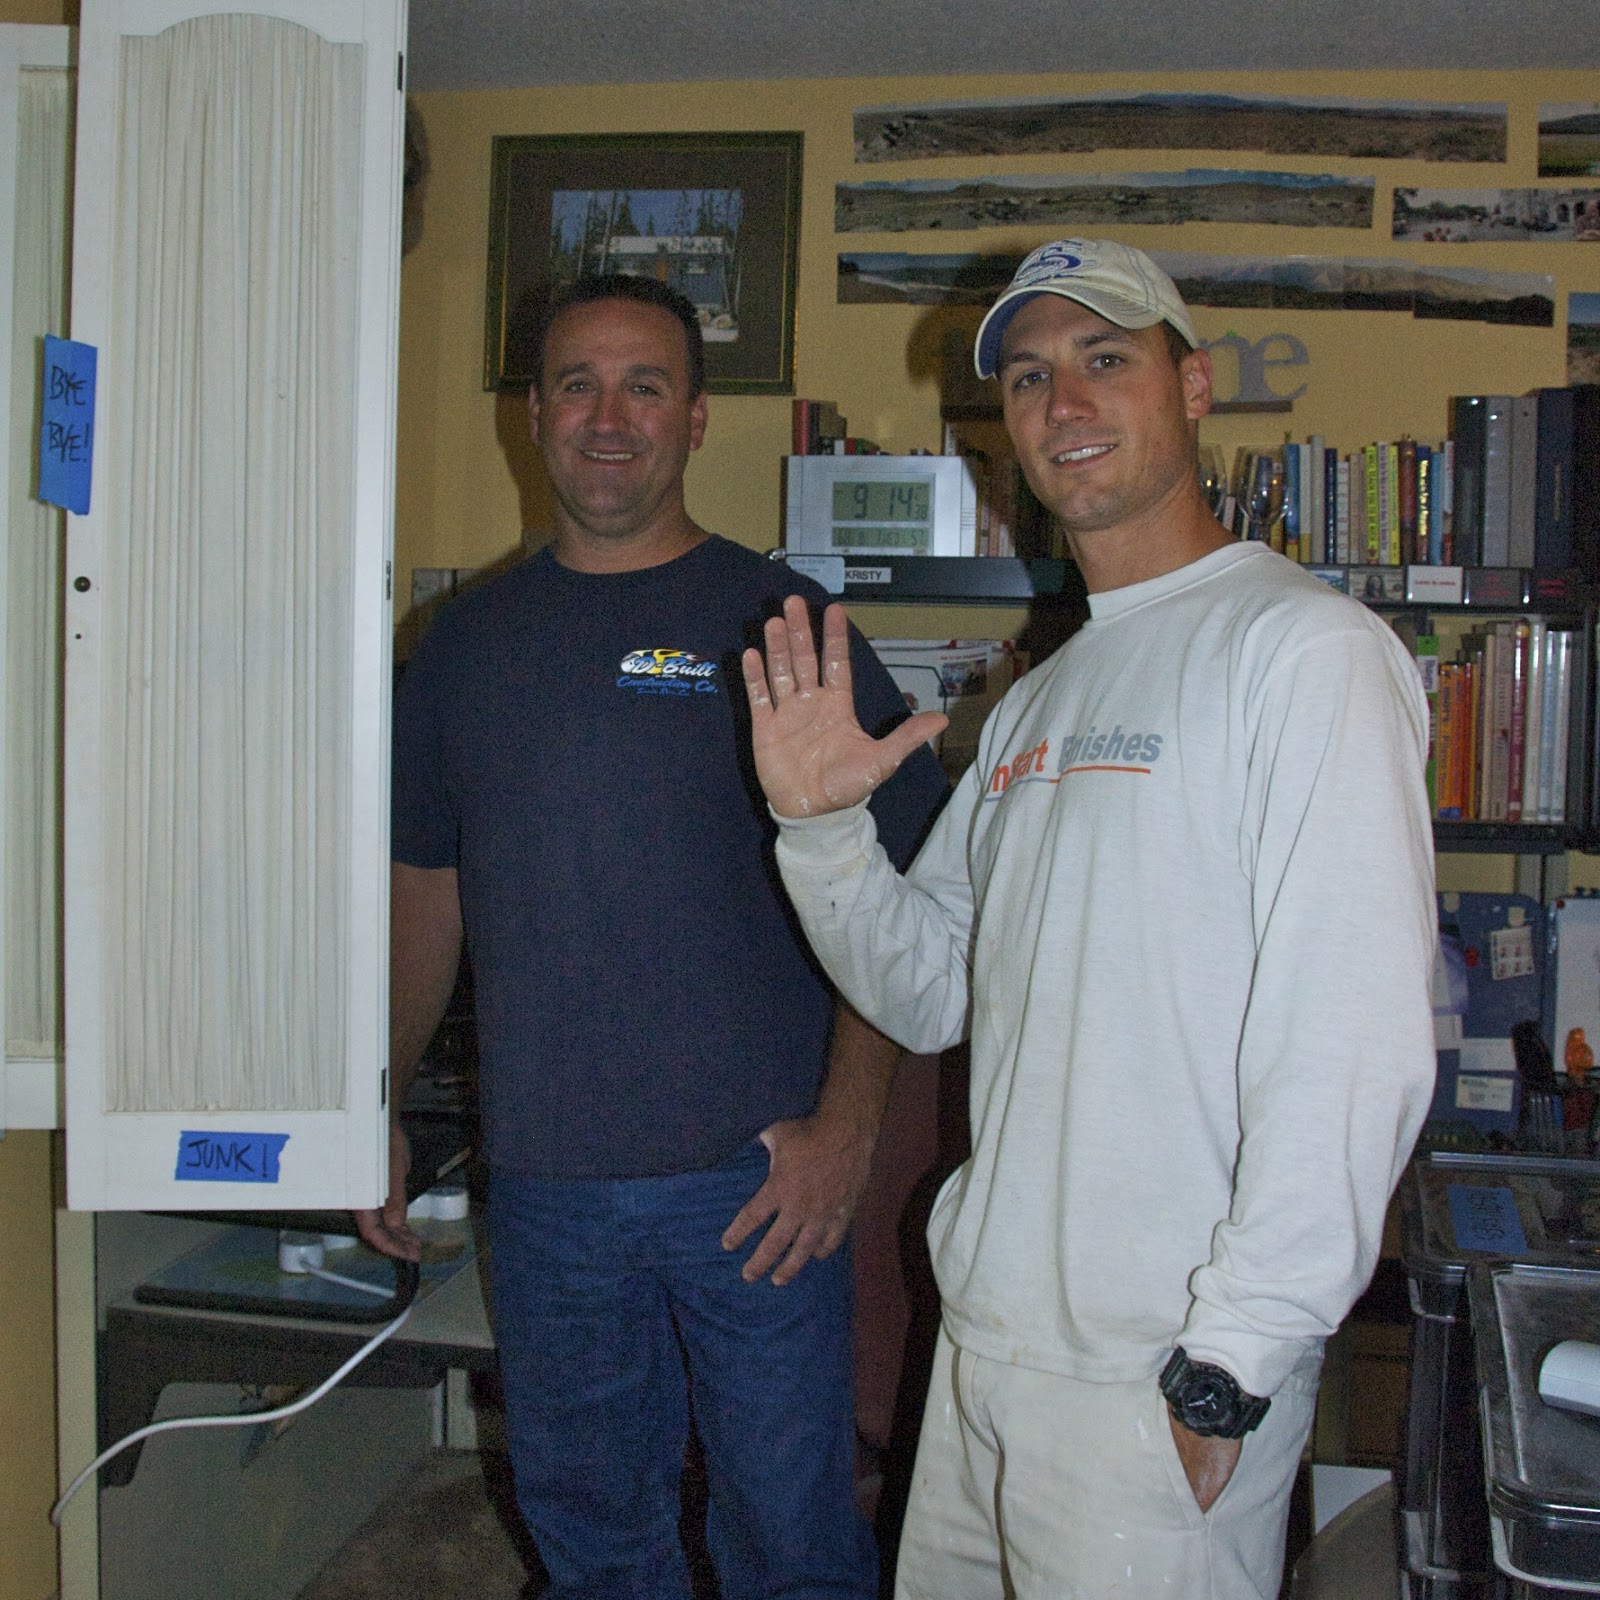
InStart Finishes is our painting contractor pictured with Darrell, our GC. Clint (on right) is the owner and the one whose company painted our home and stained our desk. He also does construction repair and other related work. Also pictured is Alex assisting in the painting work.


One of the quality procedures with the taping and texture is checking the wall afterwards for flaws and moisture de-laminatation. The GC and Painting Contractor review all walls and ceilings before proceeding to doing the undercoat application. They go around and pencil mark any texture fix for repair.


While the painters are working inside, Darrell and Stacy focus on any outside tasks. Right, the hall bath room window is being removed.


Below, Stacy prepares the opening before installing the new vinyl window.


The painters spent their first day masking off their work area before spraying the walls and ceiling. Undercoating paint adds the best sub-straight for the final paint colors to adhere to the walls and ceiling.


Masking the the door molding and wood doors insures they don't get any additional unwanted paint.


Below, I strike the fear of god, into this Jar-head. Just kidding, no amount of my talking would have any impact. Good thing we are use to one another...


Here are some of the action shots of the spraying undercoating. After a spraying for a couple of hours, the painters need a little R&R provided by our lawn and shade trees.

Note what an undercoated room looks like.


NEXT is adding the final coats. We are meeting with an interior designer recommended by our painting contractor, Clint. We are under the deadline to paint area with the final colors before the cabinets are installed. We decided to paint all ceilings using Swiss Coffee. However, we may modify this standard paint selection with a new color selection.


Friday, August 2, 2013

Days 49-51, Windows on the Wikiup


 Every other week, we have a potty dumpster show up in the driveway. Our worker's need to have a quiet place to release their loads. Thanks for having the green room to accomplish this task...


Others tasks around the project include the ritual good morning lab rubs accomplished so skillfully by Darrell. Our four-footed PM appreciate the attention. Below, Is another routine, where the PM identifies any trip hazards for man, woman or beast.

Below is sequence of installing the last of the windows in the Family Room

NEXT: Painting before the Summer offensive